Overwatch Build
Overwatch!
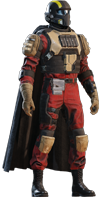
This armor will give you 2 extra Thermite grenades which will help you when you have to get up close and personal.
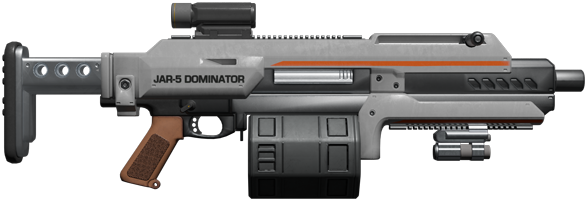
The Jar 5 will give you all the firepower you will need when forced to fight in CQB (too close for Airburst).
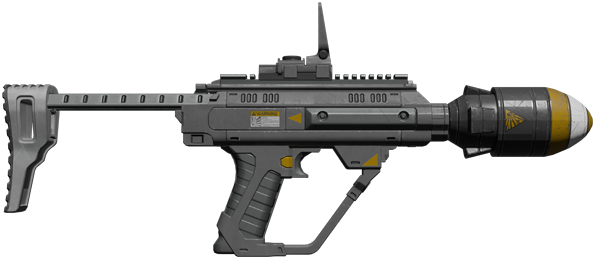
This is used to take out Objectives like Jammers, Factory Striders, or occasionally Tanks.
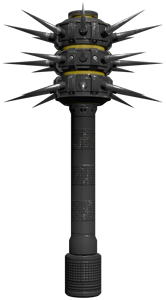
This is used for any Hulks or Tanks that run up on you, any Towers that are pestering you, and Fabricators
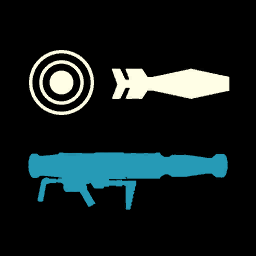
This is the bread and butter of this Build. Delete patrols, bot drops, or groups of enemies. To get Hulks, shoot past them so the bomblets hit the back vent.

This provides long range, sustained fire power. Put this down with good sight lines and it will fire for quite a while.

This provides burst damage when pushing and objective or providing cover fire. It will not last as long as the Rocket and needs to be closer

This is the BIG GUNS. Bot drop? Throw this down and shoot down every ship. Got a nice mountain to sit on? Throw this down and wipe half of the objectives on the map.
Playstyle
Overwatch! You are the protection for your team, covering their six (and their twelve) from a vantage point. Think Sniper, but explosives. Your objective is to find a good vantage point (a hill or objective thats cleared with good sight lines) and cover your teams advance to the next location.
The Airburst puts in work on the bot front. One shot, center a patrol, towards the floor will wipe an entire patrol or bot drop (or random group). The range on it is huge allowing you to snipe almost across the map (please dont use Cluster mode). It also has the capabilities of taking out Hulks (shooting over their sholder or under their legs) by having the bomblettes hit the vent. This will allow you to kill a whole patrol, including a hulk, with the right shot. In a pinch it can also close Fabricators with the added benefit of killing everything around it.
Rocket turret and AC turret go up when you find your spot, they help you provide cover, and cover your rear while you are lobbing rockets. The AT Emplacement goes down for bot drops, or if you have a really good view of the map so you can clear many bases and objectives from your one location.
Thermite comes in handy when dealing with Hulks, Tanks, Turrets, or Fabricators (if you would like to save AB rounds) and the Jar 5 puts in all the leg work needed to protect you in CQB. Ultimatum is used if you have to push an objective like a detector, or jammer, or is used to kill Factory Striders that are too close for comfort (one shot to the gut, with a backwards dive).
Helldivers assets, names, and other trademarks belong to their respective owners. Build page images are shared with thanks to the Helldivers Wiki and used under fair use for fan-made guides and appreciation.