Chk Chk Boom Build
Shock and Awe Assault.
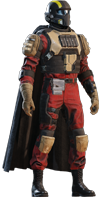
This armor will give you 2 extra Thermite grenades which I mainly use for blowing up fabs or tanks.
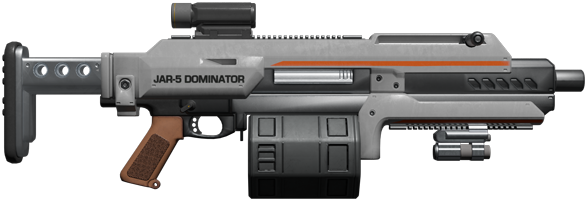
The Jar 5 is mainly used to shoot the little bots to save Railgun rounds. But pulls its weight if you run out of ammo
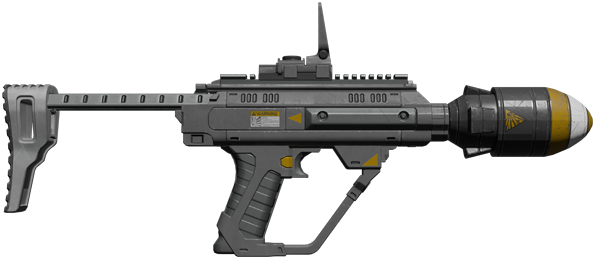
This is used to take out Objectives like Jammers, Factory Striders, or occasionally Tanks.
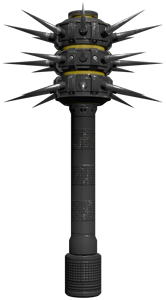
This is used for any Tanks you dont want to run behind, and mainly for Fabricators
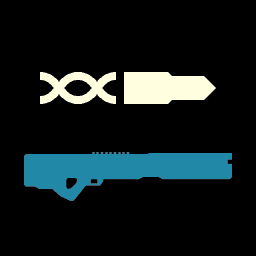
This is your main weapon. It one shots just about everything. Peak out of cover, pop off a shot, squeeze back in for a reload. Once you get a feel for the cadence this thing will scrap bots like nothing else.
Cant have a BOOM build without the Hellbomb Backpack. This is your I-WIN button. Drop? Not any more! Base? Nope. Stim up, dash in, drop the ticking present and try to dive out and watch that kill streak sky rocket
This is one of your main Fabricator clearers. Its also great for wiping any Patrols you don’t feel like gunning down. Use this liberally, you have plenty
More BOOMS for the BOOM build. When your Hellbomb is on Cooldown use this. Bot Drop? Base? Hellbomb not ready? Throw the 380. Between the Hellbomb and this, you have a delete button for every situation
Playstyle
Shock and Awe Assault. You are a rootin tootin cowboy with big booms.
The Railgun one shots EVERYTHING on the bot front (except like 1 thing). You can 1 shot: Devastators (of all variants), Rocket Striders, Gunships, Hulks, Tanks (shoot the vent between the wheels on max), Anti Personnel Turrets, AA Guns, Mortars, Factory Strider chin guns. 2 Shot Big Turrets vents. This is your bread and butter and the Street Armor gives you 4 more shots of the railgun (which is huge).
The Jar 5 is mainly for little guys or if you are out of ammo with the Railgun. Ultimatum is a quick Anti Tank option (so you don’t have to run up to it) and good for objectives or Fabricators. It will also 1 shot Factory Striders in the gut (dive backwards if you want to live). Thermite is mainly used for Fabricators and Hulks / tanks you don’t want to deal with.
The Hellbomb is... beautiful. 4min CD. Just use it on Cooldown. Use it on the bot drop, use it on that base, use it on the lone Factory strider. This thing clears the board the second it goes off, and when the dust settles the map is dead quiet.
Eagle Strafe is your main Fabricator clearer, but is a good anti patrol / group option. And the 380 is used on bases and bot drops when your Hellbomb is on CD.
Helldivers assets, names, and other trademarks belong to their respective owners. Build page images are shared with thanks to the Helldivers Wiki and used under fair use for fan-made guides and appreciation.